

Why Chimney Flashing Leaks and What a Proper Repair Includes
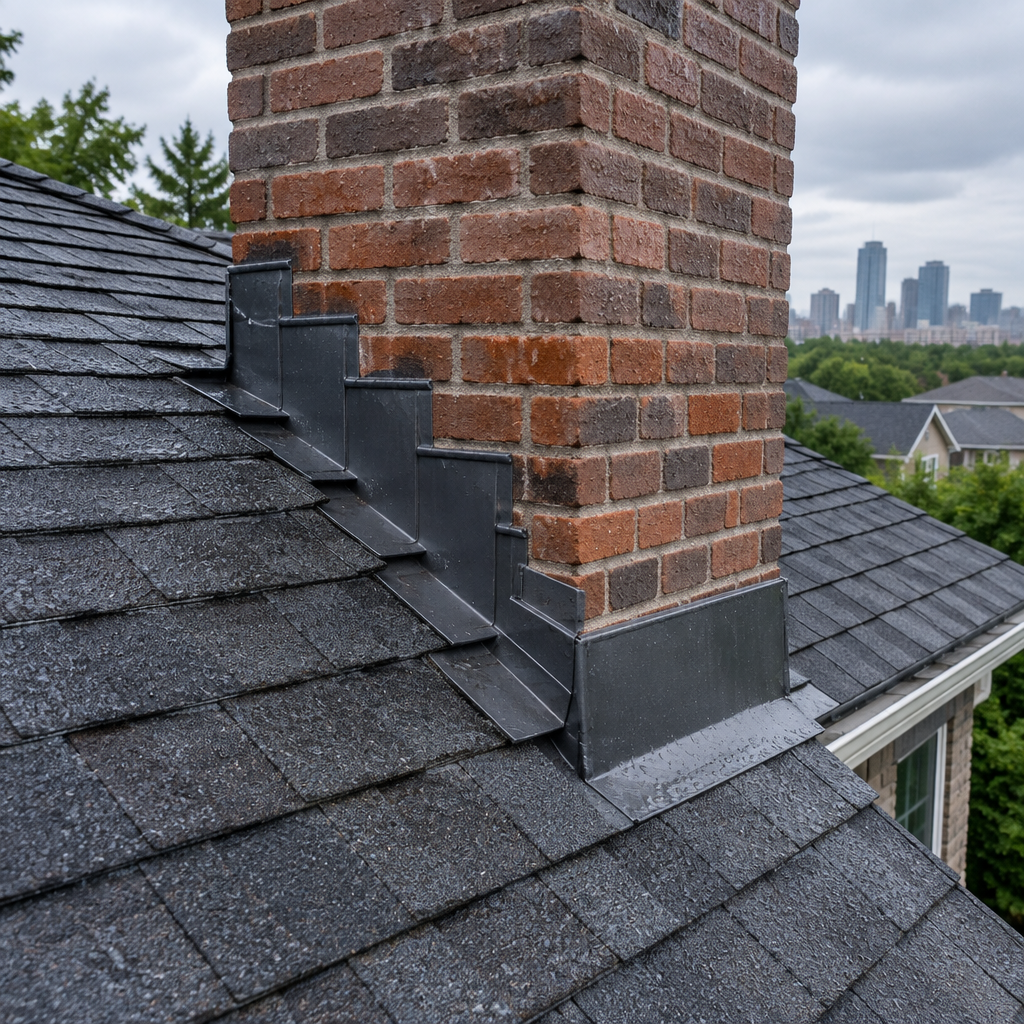
A chimney leak rarely belongs to one material. Chimney flashing repair in the GTA may involve the shingle courses, shaped metal, mortar joints, the cap, or the drainage detail on the upslope side. Surface caulking can hide the joint for a season without restoring the layers that should shed water by gravity.
Separate step flashing from counterflashing
Step flashing should move water onto the shingles along the chimney sides. Counterflashing protects the top edge where metal meets masonry. Both layers need sound laps and compatible detailing.
Inspect the masonry above the roof
Cracked mortar, a damaged cap, porous brick, and failed joints can admit water even when the roof metal looks acceptable. A roofer and masonry contractor may need to coordinate the diagnosis.
Check the upslope cricket or back pan
A wide chimney can hold snow and water on its upper side. The design must divert flow around the obstruction without creating a debris pocket or relying on a thick bead of exposed sealant.
Avoid surface caulking as the whole repair
Sealant is useful at specific joints, but it weathers and moves. A proper repair usually relies on shaped metal, secure reglets or counterflashing, and shingle integration to shed water by gravity.
Use controlled diagnosis before dismantling sound work
Interior stain location, wind direction, mortar saturation, and the sequence of rainfall can help narrow a chimney leak. A carefully staged water test may isolate the cap, masonry faces, and flashing zones, but it must proceed slowly enough to avoid overwhelming parts that normal rain would not reach. When evidence points above the roof line, repairing shingles alone will not control water moving through masonry. Conversely, new mortar does not correct missing step flashing. The owner should receive one coordinated explanation even when a roofer and mason complete separate parts of the remedy.
GTA conditions for this roof
GTA freeze-thaw weather can open small mortar cracks above otherwise sound roof metal. Century homes in Toronto may have deep masonry profiles, while later additions can leave a chimney close to a valley or wall. The estimate should account for that geometry instead of assuming every stain begins at the shingle line.
Plan chimney flashing repair in the GTA across both trades
Ask the roofer to photograph the cap, crown, mortar, step flashing, counterflashing, and back pan from safe access. The scope should explain which metal will be removed, how replacement pieces will lap with shingles, and whether masonry reglets or joints need another trade. Wide chimneys may also need a cricket or more deliberate upslope diversion. If a temporary seal is used, label it as temporary and set a date for the durable repair.
Practical planning checklist
- Inspect the cap, crown, mortar, and roof metal together.
- Ask how new metal will integrate with existing shingles.
- Confirm the upslope drainage detail.
- Photograph concealed flashing during the repair.
The takeaway
A sound chimney detail gives masonry, flashing, and sealant separate jobs; it does not ask one bead of caulk to replace all three. Solve the highest entry point and rebuild the laps below it. MLB Roofing can investigate chimney-related stains across the GTA and prepare a roofing scope that identifies any masonry coordination before work starts.
